Why Do I Need A Photography Studio?
There are a number of reasons you might need or want a photography studio. Perhaps you’re a professional photographer who needs a space to shoot portraits or product photos. Maybe you’re an amateur who wants to take your hobby to the next level by photographing friends and family in a more controlled setting. Or maybe you just need somewhere to store all your camera equipment!
No matter what your reason, a photography studio can be a valuable tool for capturing beautiful images. A good studio should have plenty of natural light, as well as ample space for setting up lights and backdrops. It’s also important to have good ventilation and insulation, in order to avoid unwanted noise or heat from affecting your shots.
The Different Types of Rooms in a Photo Studio Explained
There are a few different types of rooms in a photography studio. The first type is the shooting room. This is where you take your photos. It should be large enough to fit the subjects and the photographer and have plenty of space for lights and backdrops.
The second type of room is the prep room. This is where you put your subjects before taking their photos. It should be large enough to hold all of your props and equipment and have a place to change clothes.
The third type of room is the darkroom. This is where you develop your film and make prints. It should be dark and have a sink for washing dishes.
Lastly, there is the office. This is where you keep your paperwork and equipment, and where you can take a break from all the noise in the other rooms.
Tips to Organize Your Photography Equipment by Function
There are many different ways to store your photographic equipment. You can organize it by function, type of camera, lens, or other criteria. Here are some ideas to help you get started:
- Store lenses and cameras together. This will make it easier to find what you need when you’re ready to take a picture.
- Use cases and bags to protect your equipment from dust and scratches.
- Label your storage containers with the contents inside so you can easily find what you need.
- Group similar items together so that everything is easy to locate. For example, store all your lenses in one place and all your camera bodies in another place.
- If possible, store your equipment in a cool, dry place away from direct sunlight or heat sources.
Tips for Setting up the Perfect Home Photography Studio
Creating a photography studio at home does not have to be expensive. Inexpensive items such as backdrops, reflectors, and props can be used to create a professional-looking studio. Here are some tips for setting up the perfect home photography studio:
Choose the right location in your home. The best spot for a photography studio is a room with lots of natural light. If you don’t have a room with natural light, choose a spot near a window and use sheer curtains to diffuse the light.
Decide what type of photography you want to do. This will help you determine the type of studio setup you need. For example, if you plan to do portrait photography, you’ll need a different setup than if you plan to do product photography.
Set up your backdrop. A good backdrop can make or break a photo shoot. Choose a solid colour backdrop or one with a pattern that will compliment your subject matter.
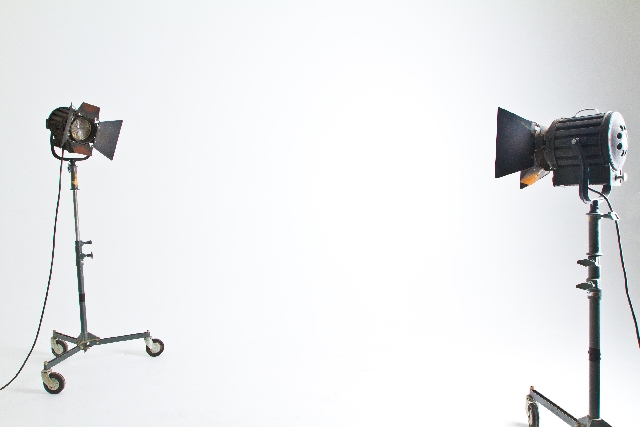
Position your lights correctly. Lights should be positioned behind and to the sides of your subject matter to create flattering shadows and highlights.
Consider your space limitations and how much room you have to work with. If you’re limited on space, consider using a corner of your living room or bedroom as your studio.
Decorating Your New Photo Shoot Room With 5 Great Tips
One of the best things about having your own photo shoot room is that you can decorate it however you want! Here are a few tips to help get you started:
- Start by choosing a focal point for the room. This could be a large window with natural light, a beautiful piece of furniture, or a statement wall.
- Next, choose colours that will complement your focal point. You may want to use neutrals like whites, blacks, and greys, or go with brighter colours for a more vibrant look.
- Start by deciding on a theme for your room. This will help you choose the right colours and decorations.
- Decorate with items that will add texture to the room. This can include framed artworks, rugs, pillows, or curtains.
- Add plants or flowers to the room to add colour and life.
- Make sure you have plenty of storage space for all of your props and equipment. This can include shelves, cabinets, or baskets.
- Hang mirrors in the room to help make it look larger.


